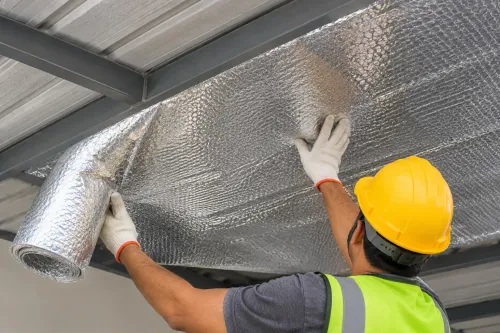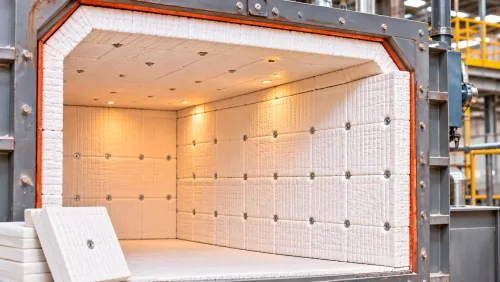
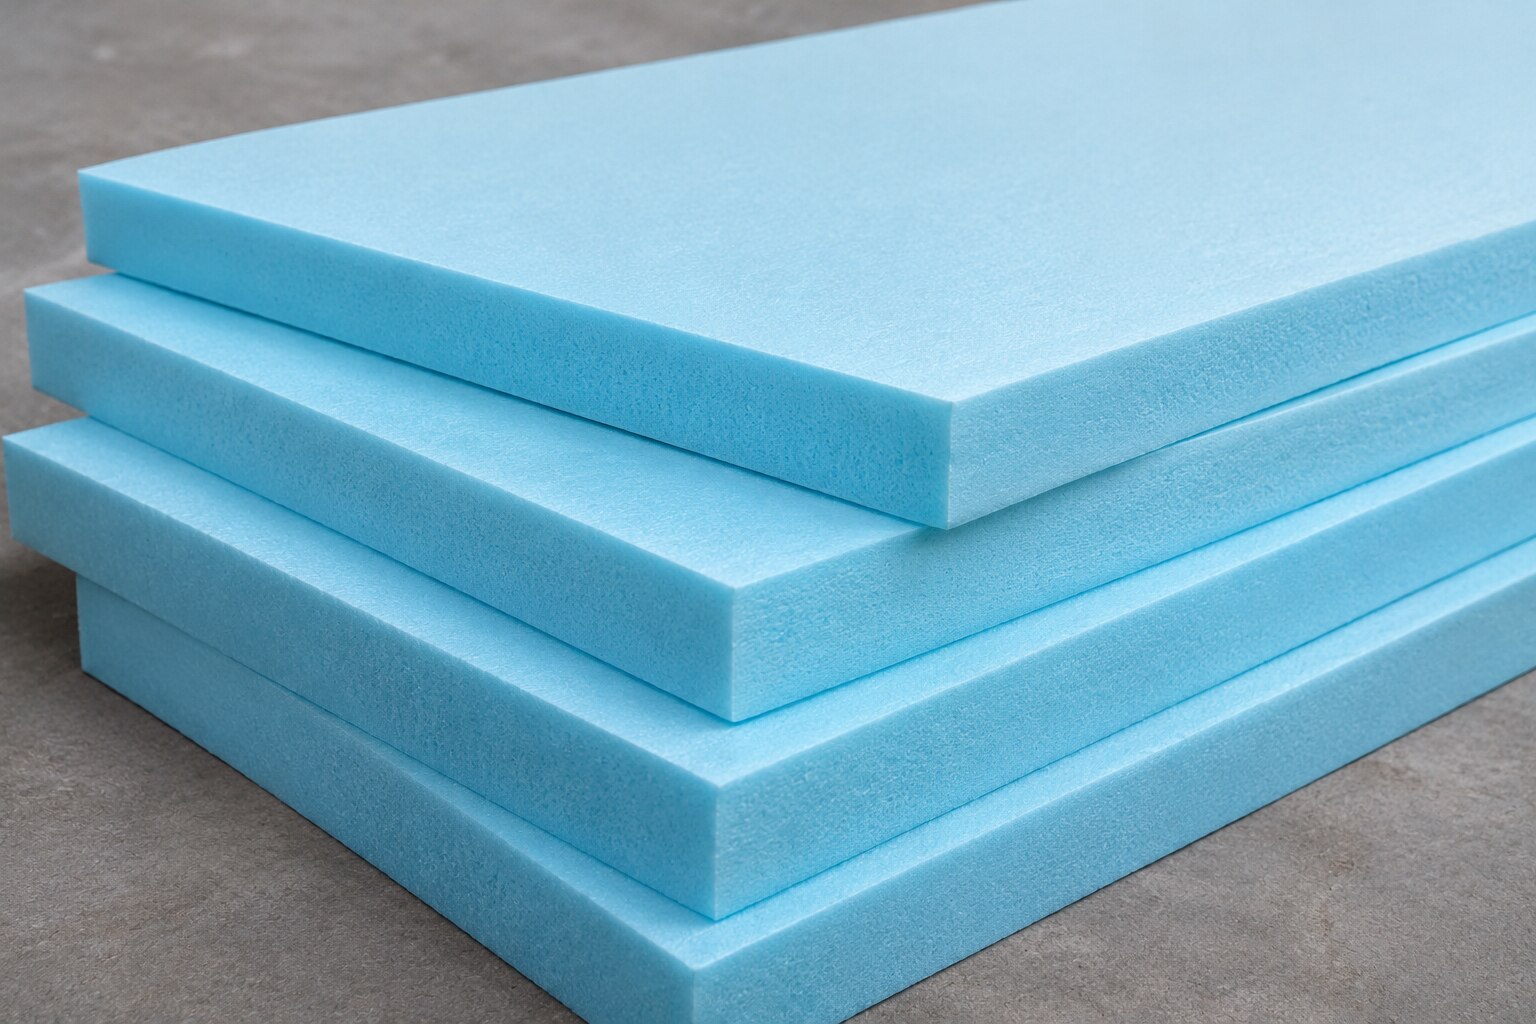
A successful XPS installation depends on more than placing boards against a wall or slab. You need to match the board to the load and building system, prepare the substrate, use compatible adhesives and fixings, close every vulnerable joint, and protect the insulation before Delhi’s sun and site traffic damage it.
Key takeaways
- Match thickness, strength class and edge profile to the complete building build-up.
- Use compatible adhesive, tight staggered joints and approved fixings for each substrate.
- Protect exposed XPS from fire, sunlight, impact and moisture during construction.
- Record product details, substrate checks, fixing patterns and photographs before covering boards.
What must be checked before XPS boards reach the substrate?
Choose XPS by the project build-up, not by density alone. Confirm the declared thickness, compressive-strength class, edge profile and surface finish against the load and finish: a roof beneath pavers, floor below screed, foundation wall and external facade need different specifications.
Printed compressive stress is not automatically the allowable long-term load; review creep, temperature, moisture, safety factors and finish weight. Pedestals, sleepers, plant supports, parking or construction traffic need a load-distribution layer or a system rated for those concentrated loads.
| Application | Check before ordering | Consequence if missed |
|---|---|---|
| Roof beneath pavers | Waterproofing sequence, drainage layer, paver load and pedestal points | Local crushing or membrane damage |
| Floor below screed | Board strength, screed thickness and continuous slab support | Settlement, rocking or cracked screed |
| Foundation wall | Waterproofing compatibility, drainage and protection layer | Wet insulation or damaged waterproofing |
| External facade | Edge profile, finish compatibility, wind fixing and fire detail | Board movement or failed finish |
For an extruded polystyrene sheet installation process in Delhi, measure each insulated plane separately. Subtract openings, then add returns, parapets, slab edges and staggered joints; divide by usable board area and add cutting waste and spare boards. Record board dimensions before ordering.
Store packs flat, dry, covered and away from prolonged sunlight. Inspect slabs, masonry, plaster, metal decks, membranes and compacted ground for cleanliness, permitted moisture, high spots, loose material and depressions. Grind high spots and repair voids so boards bear continuously. Adhesive cannot level a badly prepared substrate.
How are XPS boards cut, bonded, fixed and jointed?
Set out the first course against a straight reference line, allowing for perimeter details, returns and openings. These xps sheet installation steps in Delhi begin with accurate dry fitting, not adhesive.
1. Cut each board with a fine-toothed saw or hot-wire tool that leaves square edges. Test the piece in position before applying adhesive, especially around windows, pipes, drains and parapets.
2. Use only the XPS manufacturer’s approved solvent-free adhesive, compatible cementitious adhesive or approved polyurethane adhesive. Confirm compatibility with the substrate, waterproofing membrane, primer and finish. Solvent-based adhesives, coal-tar materials and some primers attack polystyrene; an adhesive that grips another insulation type is not automatically suitable.
3. Apply adhesive in the specified pattern and coverage, then press the board into full contact. Keep its face flush with neighbouring boards, butt joints tightly, stagger courses and avoid four-corner intersections. In two layers, offset the second layer’s joints from the first in both directions.
4. Add mechanical fixings only when required by the wall, wind load, facade system or manufacturer. Select fixing length, washer size, embedment and spacing for the actual substrate, and tighten fasteners without crushing the board.
5. Cut closely around penetrations. Fill an unavoidable narrow gap with low-expansion foam or compatible sealant. Do not fill movement joints with rigid XPS, unsuitable mortar or solvent products; keep expansion joints and drains open and functional.
How does fitting change across roofs, walls, floors and foundations?
The build-up changes with the building system; copying a roof detail onto a wall or floor creates trapped water, weak support, or a failed finish.
1. An inverted flat roof runs from structural deck to falls or screed where required, waterproofing membrane, XPS boards, drainage or filter layer, and ballast, pavers, or another approved protective finish. Keeping the membrane below XPS shields it from temperature cycling and mechanical damage.
2. A conventional roof places XPS within the designed vapour-control, deck, membrane, and protection build-up. Do not copy an inverted-roof sequence without approval.
3. For external walls, prepare masonry or plaster, bond and mechanically fix boards as specified, continue insulation around corners, reveals, parapets, and slab edges, then apply the tested reinforced weatherproof finish. In cavity or masonry walls, preserve cavity drainage, ties, fire stops, and openings; uncontrolled board pieces must not block the cavity.
4. For floors below screed, prepare the slab or compacted level ground, install the specified damp-proof or vapour-control layer, lay XPS with staggered joints, and add the screed or load-distribution layer before traffic. Foundation and basement walls need compatible waterproofing, drainage, protection board or drainage layer, and controlled backfill. XPS does not replace waterproofing.
5. Cold rooms and industrial areas need designed vapour control, hygienic finishes, joints, and load distribution. Metal decks require even bearing and approved adhesive or fixings, not unsupported spans.
These distinctions are central to xps sheet construction application in delhi and to any safe XPS installation.
How are thermal bridges, penetrations, fire and exposed edges controlled?
Treat every interruption as a design detail: continue insulation across external wall corners, columns, beam edges, parapets, window and door reveals, and slab edges. Where continuity is impossible, use an engineered transition that preserves thermal performance, fixing capacity, cavity drainage, fire stops and movement joints.
1. Confirm the fire strategy before fitting. XPS is combustible; a product flame-spread or smoke classification does not establish the fire performance of a complete wall or roof. Follow the National Building Code of India 2016, applicable fire requirements, protective layers, separation distances, cavity barriers, and tested facade or roof assemblies.
2. Cut boards closely around drains, pipes, ducts, anchors, roof upstands and service penetrations. Keep outlets open and allow pipes or ducts to move. Seal only the gap permitted by the detail; a movement joint still needs its compressible filler and approved sealant, because rigidly packing it with XPS removes movement capacity.
3. At roof edges, parapets and foundation transitions, turn the waterproofing membrane, flashing and protection layers up or around the insulation as designed. Close perimeter joints so water cannot travel behind boards; XPS does not replace waterproofing, vapour control or drainage.
4. Install the specified render carrier, screed, pavers, filter fabric, drainage board or protection board before traffic begins. Shield boards from UV, standing rain, sparks, cutting debris and impact. Do not use exposed XPS as a platform or rely on its strength for point loads without distribution.
Good extruded polystyrene sheet fitting in delhi depends on the complete tested assembly, not insulation continuity alone.
What should the installer record before covering the insulation?
Record the installed materials and inspect every concealed detail before screed, cladding, backfill or roof ballast hides the insulation.
1. Identify the product name, declared thickness, compressive-strength class, board dimensions, edge profile, batch or delivery reference, storage condition and substrate condition. Mark the installed area on measured drawings and compare the quantity and board layout with the approved detail.
2. Photograph the substrate, waterproofing membrane, first board course, adhesive coverage or fixing pattern, service penetrations, perimeter returns, movement joints, parapets, upstands and concealed transitions. Keep these images with the inspection record.
3. Check that boards are tightly butted, courses are staggered, two-layer joints are offset, edges are supported and no board rocks over a depression. Verify adhesive coverage or fixing spacing against the system specification, not an informal site pattern.
4. Remove damaged, wet, sun-degraded or inaccurately cut boards. Confirm compatible low-expansion foam and sealants, open drains, installed fire stops and cavity barriers, and intact movement-joint details. Do not fill a movement joint solidly with XPS.
5. Before handover, confirm that the specified protection or finish layer is installed and that the insulation is not left exposed to prolonged sunlight or construction traffic.
For supplier comparison in Delhi, request the technical data sheet, installation instructions, compatibility statement for the proposed adhesive and membrane, and batch traceability. Shiv Sales Corporation can help compare the board and accessory combination, but the installer and designer must approve the complete assembly.
Related products
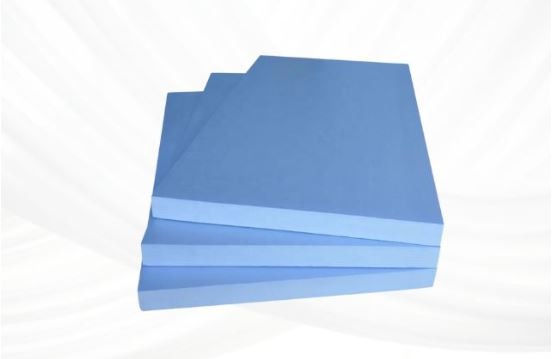 | Extruded Polystyrene Sheets Shiv Sales Corporation offers high-quality and cost-effective extruded polystyrene foam designed to meet various insulation requirements. View product → |
 | Extruded Polystyrene Sheet (XPS Board) – High-Performance Thermal Insulation Extruded Polystyrene Sheet (XPS Board) – High-Performance Thermal Insulation XPS Board from Shiv Sales Corporation is a rigid, moisture-resistant thermal insulation sheet designed for roofs, walls, floors, and foundation... View product → |
Frequently asked questions
What must be checked before XPS boards reach the substrate?
Check the declared thickness, compressive-strength class, edge profile and surface finish against the roof, wall, floor or foundation build-up. Confirm the substrate is clean, dry, sound and free from projections, standing water and incompatible coatings.
How are XPS boards cut, bonded, fixed and jointed?
Cut boards with a fine-toothed saw or insulation knife, apply an adhesive approved for XPS and the substrate, add mechanical fixings where the system requires them, and press boards tightly together with staggered joints. Do not use solvent-based products that attack polystyrene.
How does XPS fitting change across roofs, walls, floors and foundations?
Roof installations must account for wind, waterproofing and the finish above the insulation. Floors require a level, load-bearing substrate and correctly sealed perimeter joints. Foundation boards need compatible waterproofing, drainage and protection from backfill. Wall systems require the specified facade, render or cladding fixings.
How are thermal bridges, penetrations, fire and exposed edges controlled?
Stagger joints, close gaps with compatible insulation pieces, detail corners and slab edges continuously, and seal service penetrations without crushing boards. Keep XPS separated from ignition sources and cover it with the fire-protection layer required by the building system. Protect exposed edges from sunlight, impact and moisture.
What should the installer record before covering the insulation?
Record the product name, thickness, batch or lot number, compressive-strength class, substrate condition, adhesive and fixing type, fixing pattern, joint treatment, penetrations and photographs of completed areas before they are concealed.
Keywords