A durable reinforced wall depends on more than pressing fabric into mortar: the substrate, base coat, mesh position, overlaps, corners and curing sequence all affect the result. By the end, you will be able to plan the installation, check the workmanship and decide whether the specified mesh-and-coating system suits a Delhi commercial project.
Key takeaways
- Remove dust, laitance, oil, efflorescence and loose coatings before application.
- Use the tested base coat, primer, insulation board, fixings and mesh as one system.
- Embed mesh within the base coat, not directly against insulation or at the surface.
- Inspect laps, corners, openings, joints and finished coverage before accepting work.
Prepare the Commercial Wall Before the Mesh Goes On
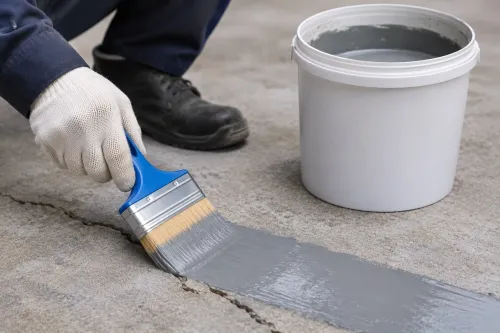
Remove dust, laitance, loose paint, efflorescence, oil and curing compounds before applying any reinforced coat. A fiber glass mesh for installation process in Delhi must follow the tested render or ETICS system: use its specified primer, base coat, insulation board, fixings and mesh rather than mixing products by appearance.
- Brick masonry: rake out loose mortar, brush the joints, fill voids and remove projecting mortar. Dampen highly absorbent brick without leaving standing water.
- Concrete: grind or scrape laitance, shuttering residue and weak patches; open and repair honeycombing. Apply the system primer where the concrete is dense or smooth.
- AAC blocks: remove powder, fill chipped edges and level deep joints with compatible repair mortar. Prime or lightly dampen only as the system instructions require; excess water weakens adhesion.
- Cement plaster: tap for hollow areas, remove friable sections and repair them. Flatten ridges, fill cracks that are not movement joints, and allow repairs to cure.
- Gypsum board: secure loose boards, treat board joints with the approved joint compound and tape, and remove dust. Use mesh only with a base-coat system approved for gypsum board; ordinary exterior render can delaminate.
- Insulated walls: confirm boards are firmly bonded or mechanically fixed, aligned and dry. Do not use mesh to correct rocking boards, open joints or incorrect fixings.
Make the surface reasonably even before coating. Install and align corner beads, stop beads, drip profiles and movement-joint profiles first; never bridge a movement joint with render or mesh. The surface preparation determines whether the fiber glass mesh wall application in Delhi remains bonded or cracks through the finish.
Apply the Base Coat and Embed the Mesh in the Correct Position
The mesh goes into wet base coat—not directly against the wall and not onto a dry skim. Keep the approved system data sheet beside the work because coat thickness, primer, recoat time and mesh overlap vary by assembly.
1. Clean the prepared substrate, then dampen absorbent masonry or apply the specified primer. Do not saturate the surface; standing water weakens adhesion.
2. Install and align corner beads, stop beads, drip profiles and movement-joint profiles before covering the field. Leave movement joints open and functional rather than bridging them with mortar.
3. Apply a continuous, even base-coat layer over the approved substrate. Work in manageable bays so the material remains wet when the mesh is placed.
4. Press the fiber glass mesh into the fresh coat with a float, moving from the centre toward the edges. Remove wrinkles, fish-mouths and pinched folds immediately; do not pull the mesh tight across gaps.
5. Position the mesh within the reinforced coat, normally in its outer third, while keeping it fully surrounded by base coat. It must not touch the substrate or remain visible at the surface.
6. Overlap adjoining sheets and reinforce vulnerable areas exactly as the system detail specifies. Stagger joints where required, and keep sheet edges away from unplanned cracks or profiles.
7. Apply enough additional base coat to conceal every strand, then level without exposing the mesh. Allow the coat to cure for the specified period before primer and finish coat application.
A compliant fiber glass mesh wall application in delhi depends on this wet-on-wet sequence; dry-laying and skim-coating over mesh creates weak, visible reinforcement. Protect fresh work from rain, intense sun, drying wind, dust and impact.
Detail Laps, Corners, Openings, Services and Movement Joints
Fix corner beads, stop beads, sill returns and drip profiles before completing the field mesh. Align each profile to the finished plane, then wrap the mesh into it or terminate it as the approved system detail requires. Do not leave exposed edges that can admit water.
Treat every interruption as a separate reinforcement detail:
- Overlap adjoining mesh sheets by the system’s specified dimension, keep joints flat, and stagger them away from corners and openings. Never butt sheets together.
- Add diagonal mesh patches at the external corners of windows and doors before installing the main layer; reinforce jambs, heads and sill returns with mesh turning into the reveals.
- Continue reinforcement at wall-to-slab junctions and substrate transitions, using a designed separation or transition detail where movement or different materials could crack the render.
- Fit electrical boxes, pipes and ducts tightly, cut mesh neatly around them, and add local patches without creating folds. Seal the penetration separately; mesh is not waterproofing.
- Install a movement-joint profile through the full render build-up. Stop the mesh and base coat at the profile so the joint remains free to open and close.
For fiber glass mesh fitting in Delhi, keep the mesh embedded in wet base coat, not dry against the wall. Cover it completely without wrinkles, fish-mouths or pinched folds, while retaining the system-specified embedment depth. Do not bridge a structural or movement joint with render, mesh or finish coat.
Choose a Compatible Mesh System and Plan the Delhi Site Work
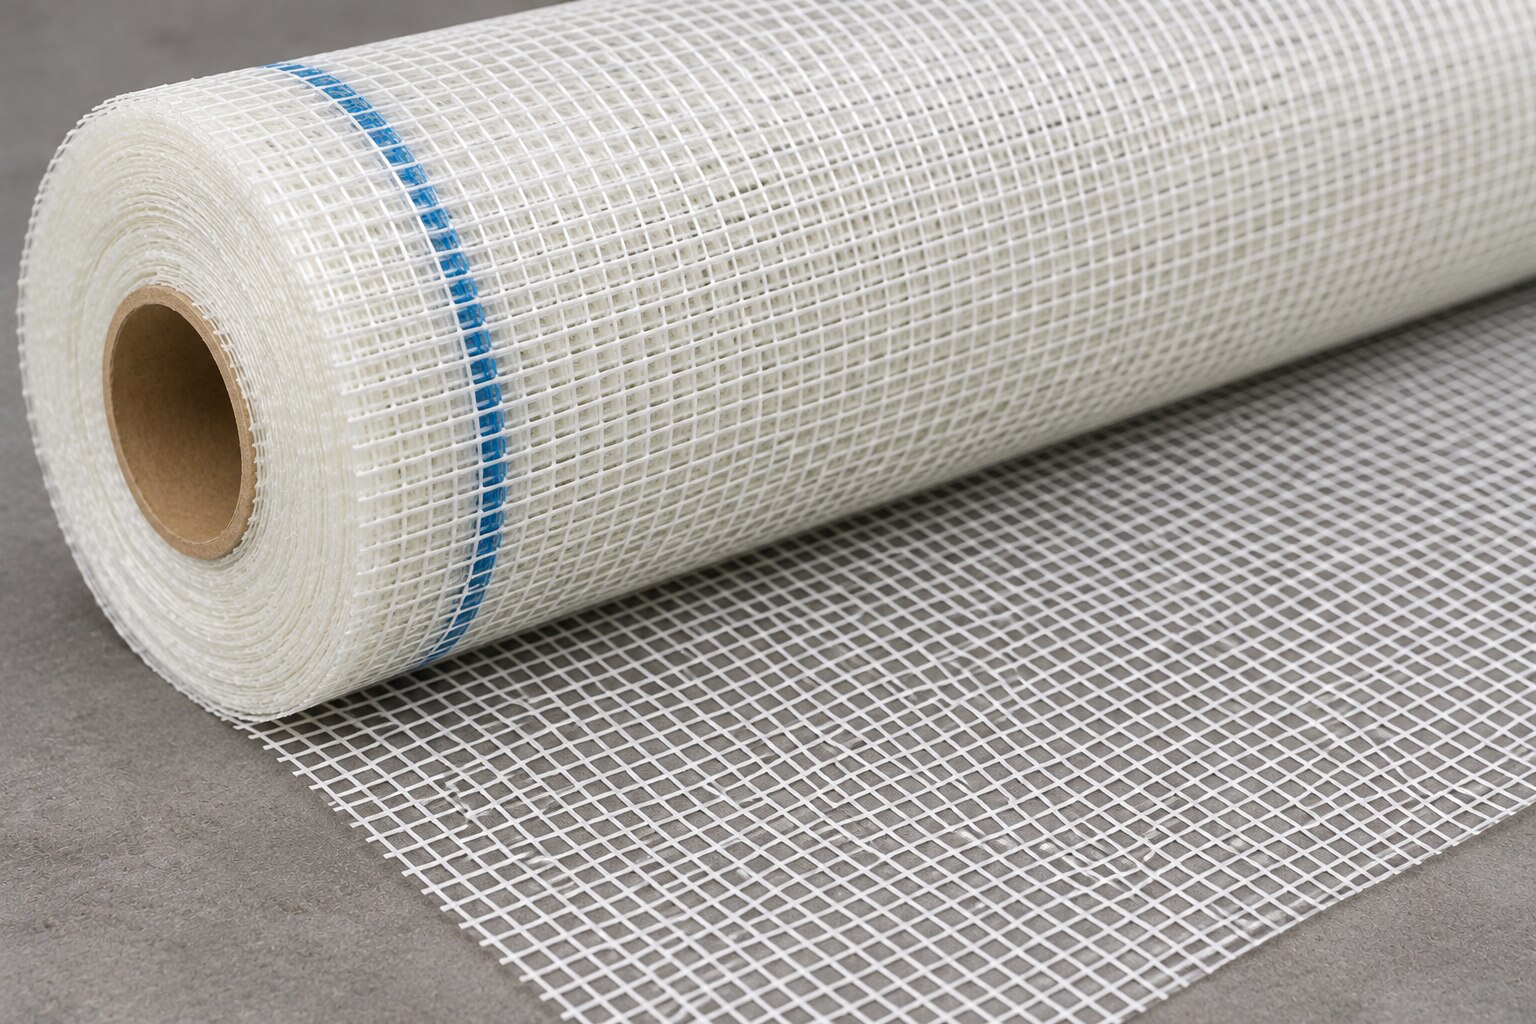
Select the mesh by the wall assembly, not by price or nominal mesh size. Specify alkali-resistant glass-fibre mesh approved for the cementitious or polymer-modified base coat; ordinary insect screen, plasterboard tape and uncoated fabric can lose strength in alkaline mortar.
| Option | Strengths | Limitation |
|---|---|---|
| Alkali-resistant glass-fibre mesh | Light, corrosion-free, compatible with render and ETICS | Depends on the tested base-coat system |
| Welded wire or expanded metal lath | Suits heavier plaster and impact requirements | Adds weight, corrosion risk and fixing work |
| Synthetic fibres in mortar | Controls fine shrinkage cracking | Does not replace sheet reinforcement at joints or openings |
Use the manufacturer’s approved overlap, commonly at least 100 mm in ETICS or render systems. Calculate mesh as net wall area × 1.10 for laps and cutting waste, then add separately measured corner, opening and high-impact reinforcement.
Divide by the roll’s usable area and round up; do not count a short overlap or butt joint as coverage.
For fiberglass reinforcement installation in delhi, finish these controls before the crew starts:
- Confirm the approved system drawing, product data sheet, base-coat and finish-coat compatibility, fixing schedule, substrate acceptance record, batch number and safety data sheets.
- Release the wall only after MEP conduits, boxes, pipes, ducts, insulation boards and movement-joint locations are fixed and inspected.
- Require gloves, long sleeves, eye protection, dust control and safe scaffold access; cementitious mortar can burn skin and mesh fibres irritate eyes.
- Ask Shiv Sales Corporation for the mesh roll identification and compatible system documents before delivery approval.
Mark roll direction, overlap lines and daily work limits so trades do not cut or puncture uncured reinforced coats.
Related product
 | Fiber Glass Mesh – High-Strength Reinforcement Fabric Fiber Glass Mesh – High-Strength Reinforcement Fabric Fiber Glass Mesh from Shiv Sales Corporation is a premium reinforcing material designed for wall construction, waterproofing, plaster strengthening,... View product → |
Inspect the Reinforced Coat and Reject Installation Defects
Do not release the elevation for finishing until the reinforced coat passes a documented hold point. A concealed wrinkle or exposed fibre cannot be corrected without removing the coating above it.
- Confirm the mesh batch, identity and alkali-resistant rating against the approved system specification.
- Measure specified laps and check that diagonal patches reinforce every window and door corner.
- Check corner beads, stop beads, drip profiles, sill returns and movement-joint profiles for alignment before they disappear under the coat.
- Look across the wall for wrinkles, fish-mouths, pinched folds, visible mesh and exposed fibres. Reject any area where the mesh lies against the substrate instead of within the wet base coat.
- Verify full encapsulation, specified base-coat thickness and a continuous, even surface. Photograph each elevation before applying primer or finish coat.
Protect fresh cementitious coating from Delhi rain, direct sun, hot drying wind, dust and impact. Follow the product’s stated application temperature, recoat interval and curing period; do not use a blanket “all-weather” instruction. Provide shade and controlled protection, but do not trap condensation against the wall.
The fiber glass mesh for installation process in Delhi is unsuitable for active structural cracks, moving joints, leaking walls or unstable render. Repair the substrate, seal or preserve the joint, or specify structural reinforcement and waterproofing first. Fiberglass reinforcement installation in Delhi is a system operation, not a standalone crack-proofing treatment.
Frequently asked questions
How should a commercial wall be prepared before fiber glass mesh installation?
Remove dust, laitance, loose paint, efflorescence, oil and curing compounds. Repair weak or uneven areas, then use the primer specified by the tested render or ETICS system.
Where should fiber glass mesh sit in the base coat?
Press the mesh into fresh base coat so it is fully embedded within the reinforced layer. Do not leave it directly against the insulation board or exposed at the surface.
How should mesh be detailed at corners, openings and movement joints?
Form continuous laps, reinforce external corners and window or door openings with system accessories, and stop or separate the mesh at designed movement joints instead of bridging them.
What defects should you reject during inspection?
Reject visible mesh, wrinkles, bubbles, gaps at laps, unreinforced corners, bridged movement joints, debonded areas and coatings applied over dust or weak substrate.
Keywords